Dirty windows have a way of making an otherwise clean home or business look neglected. But if you’ve ever grabbed a bottle of spray cleaner, wiped your glass down, and ended up staring at a smeared, streaky mess, you know that effort and results don’t always match up. Getting truly clear, streak-free windows comes down to a few specific choices: the right timing, the right solution, and the right technique.
Timing is one of the most overlooked window cleaning tips, and it makes a bigger difference than most people expect. Direct sunlight dries your cleaning solution onto the glass before you have a chance to wipe it off, leaving behind the very streaks you’re trying to avoid.
Pick a cool, overcast day for the best results. Morning or late afternoon on a partly cloudy day works well, too. Avoid cleaning windows on windy days, as dust and debris will land right back on the wet glass.
The cleaning solution you choose sets the tone for everything that follows. Most commercial glass cleaners work fine for light dirt, but for deeper grime or hard water spots, you’ll want something with a little more strength.
Here are the options that consistently deliver clean, streak-free results:
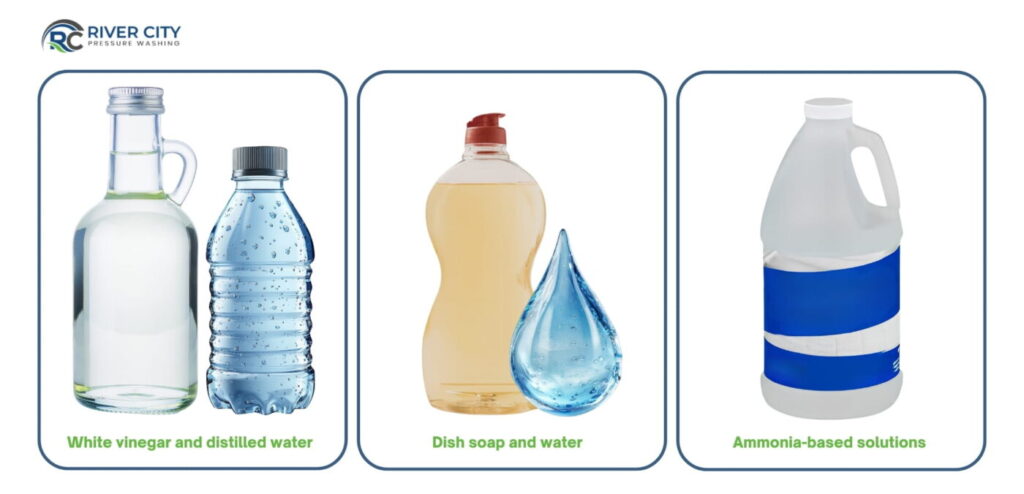
This is the most reliable DIY option for how to clean windows without streaks. White vinegar cuts through calcium deposits, fingerprints, and light grime without leaving behind a residue.
Use distilled water (not tap), because tap water carries minerals that contribute to streaking, particularly in hard-water regions like much of Central Illinois.
A few drops of dish soap in a bucket of warm water works well for heavily soiled windows, particularly exterior glass that’s been exposed to road grime, pollen, or bird droppings. Use just a few drops; too much soap creates a thick foam that’s hard to rinse clean and leaves a filmy residue.
An ammonia-and-water mix offers stronger cleaning power for windows with built-up grime or oxidation. Use this outdoors or in a well-ventilated space, and rinse thoroughly afterward. Avoid using ammonia on tinted glass or window films.
Skip pre-mixed multi-surface sprays entirely. Most leave a thin film on glass that attracts dust and moisture and makes the next cleaning job harder.
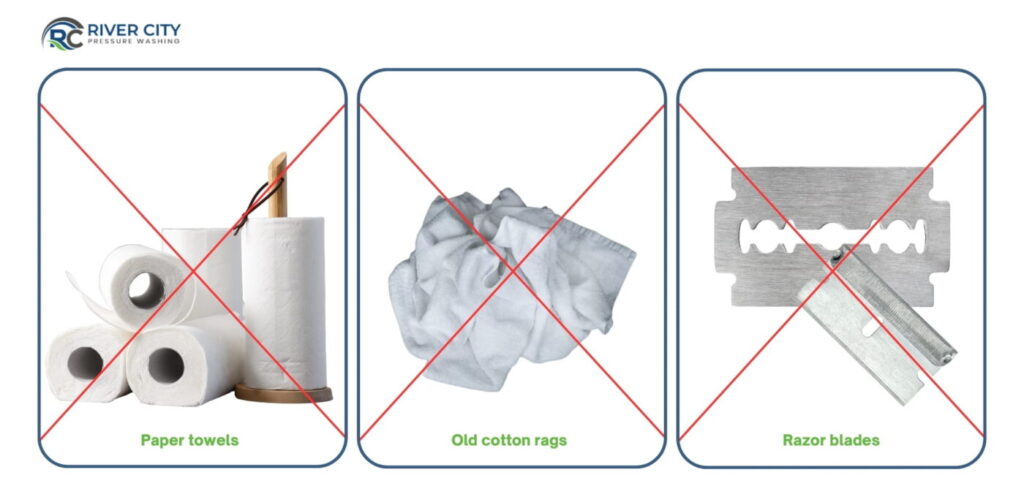
The right tools are what separate a professional-looking result from one that still needs to be done again. The following items are worth using:
These are the gold standard for interior windows and any glass you can reach comfortably. Microfiber is absorbent, lint-free, and built to trap particles and lift them off the glass, not drag them across it. Keep a damp one for washing and a dry one for buffing.
Routine professional cleaning prevents buildup that can become harder (and more expensive) to remove over time. By scheduling regular maintenance, you avoid costly repairs, repainting, or surface replacements down the road.
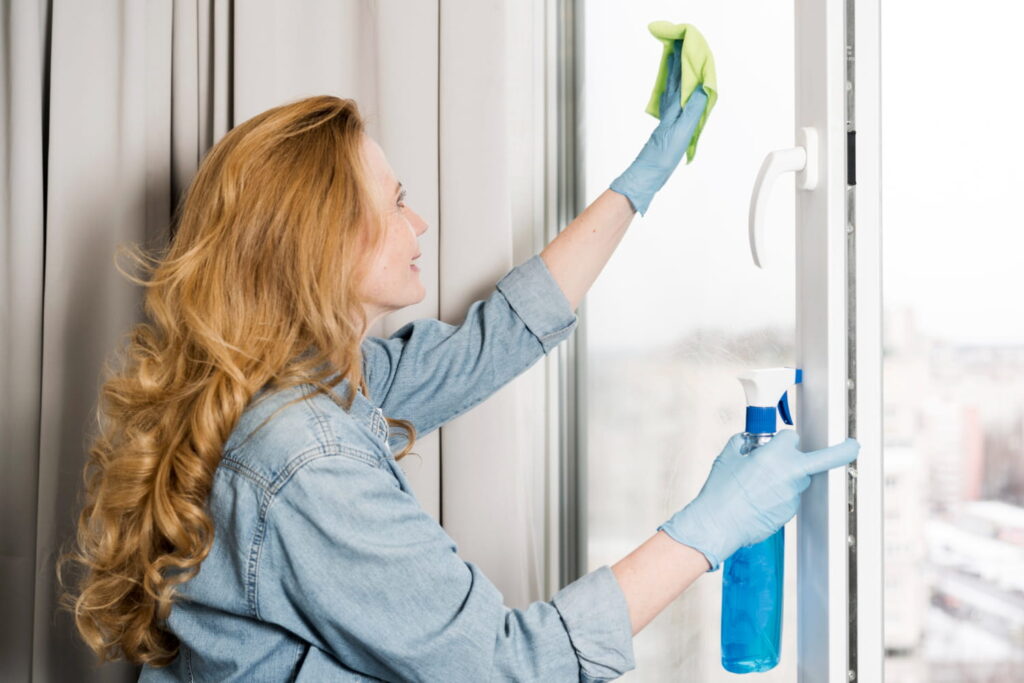
Interior windows collect a different kind of buildup than exterior ones, like fingerprints, dust, cooking residue, and condensation marks, so the cleaning routine calls for a lighter touch.
1️⃣ Dust the frames, sills, and tracks first with a dry cloth or vacuum attachment. Loose debris on the glass before you apply any solution just turns into mud.
2️⃣ Lightly spray your cleaning solution directly onto your microfiber cloth, not onto the glass itself. This gives you more control and prevents the solution from soaking into the window frames or dripping onto walls.
3️⃣ Wipe the glass in a Z or S-shaped motion from the top corner down to the bottom. Work in sections – one pane at a time if you have divided lights, or in overlapping horizontal strips on larger panes. Follow up with a dry microfiber cloth to pull any remaining moisture off the glass before it dries into a streak.
4️⃣ A streak that shows up mid-clean is easier to handle damp. Buff it out with a dry cloth using small circular motions. Once the glass dries fully, removing it cleanly takes more effort.
Exterior glass takes on more punishment from pollen, hard water overspray, exhaust, bird droppings, and UV film buildup, so it needs a bit more preparation before you can clean it effectively.
1️⃣ Pull the screens out before you start. Screens accumulate years of dust, oxidized mesh residue, and trapped debris. Cleaning through them pushes that grime directly onto the glass below – you’d be cleaning and re-dirtying the pane in the same pass. Lay the screens flat somewhere to dry and put them back last.
2️⃣ Rinse the glass with plain water from a garden hose first to knock off loose dirt and debris. Running a solution over dry, dusty glass just spreads the grit and risks scratching the surface.
3️⃣ Apply your cleaning solution with a sponge or a scrubber wand, working from the top of the window down. Let it dwell for 30 seconds on heavily soiled sections before working it in. Then use a squeegee in overlapping, top-to-bottom strokes – wiping the squeegee blade with a clean cloth after each pass to prevent transferring dirty solution back onto the glass.
4️⃣ Run a dry microfiber cloth along the edges and corners where the squeegee can’t reach. That’s where residue collects most.
For cleaning outside windows on upper floors, a telescoping squeegee pole is the practical answer for most homeowners. Consumer poles extend to 12–20 feet, which covers first-floor windows and many second-floor sills. Anything above that, or any window where you’d be fighting the angle, is where a professional crew with proper equipment makes more sense than improvising from a step stool.
Most people clean windows correctly and still get streaks, because the error happened before the cloth ever touched the glass.
Here’s what actually goes wrong.
Leaving the cleaning solution on the frames. Aluminum, vinyl, and painted wood frames all release residue when wet: oxidation, chalking, and paint pigment. If your cloth picks up frame residue mid-wipe and you keep going across the glass, that residue smears. Keep a separate cloth for frame edges and wipe them before running anything across the glass itself.
For most standard windows on the first or second floor, the steps above are manageable with a free afternoon and the right supplies.
For multi-story homes, commercial properties with large expanses of glass, post-construction cleanup, or windows that haven’t been cleaned in years, the labor, equipment, and safety considerations change the calculation entirely. Our residential window washing service handles everything from standard home windows to hard-to-reach upper-story glass — same-day results, no ladders required on your end.
For Peoria businesses, our commercial window washing service keeps storefronts, office buildings, and retail spaces looking sharp year-round.
Clean windows say something about the property behind them. Your weekend has better plans than climbing a ladder with a squeegee – we’re a phone call away.
Contact us today to schedule your professional house washing service and give your home the care it deserves.